Ginger, the ultimate winter spice

Ginger, the ultimate winter spice

As we are now into the colder months, we are more prone to catching colds, and of course want to keep those germs at bay. It’s important that our immune systems are given that extra boost and ginger does just that, it is the spice that holds many benefits.

Ginger is one of the first spices to have been exported from Asia, arriving in Europe  with the spice trade, and was used by ancient Greeks and Romans. Ginger has also been used in traditional medicine in China, India and Japan for centuries.

(Photo credit: Conscious-Design)

Boosts Immunity: Loaded with antioxidants, ginger strengthens the immune system, helping to keep off seasonal illnesses like colds and flu that often takes over our bodies in winter.

Blood Circulation: Ginger promotes better blood circulation, which is crucial during winter and as we tend to feel colder. Improved circulation helps maintain warmth throughout the body.

(Photo credit: Bluebird-Provisions)

Helps the digestive system: Ginger is said to be a trusted remedy for digestive issues. Its soothing properties help alleviate nausea, indigestion, and bloating.

Respiratory Support: The warming effect of ginger helps clear congestion and soothes respiratory discomfort. Ginger tea with honey can offer relief from coughs and sore throats, providing comfort during cold weather.

(Photo credit: Hilary-Hahn-Lc)

Pregnancy: Ginger can help with morning sickness, nausea, and vomiting. 

Arthritis and joint pain: Antioxidants and other nutrients in ginger root may help prevent or treat arthritis, inflammation, and various types of infection. Ginger is also said to help relieve joint pain.

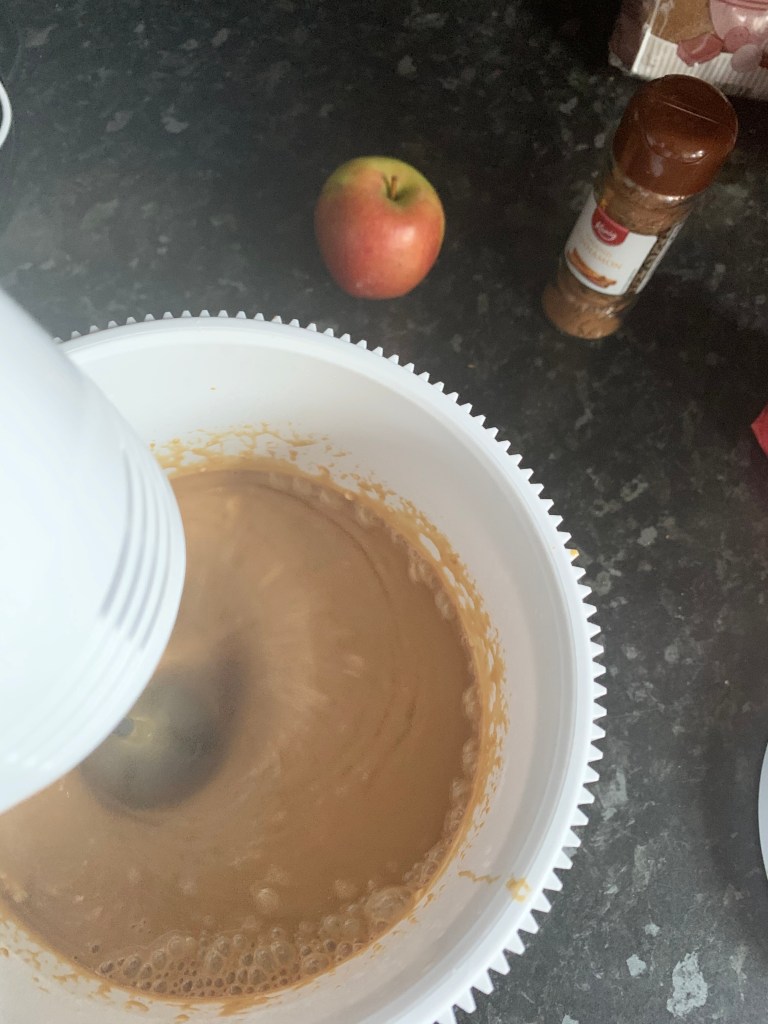
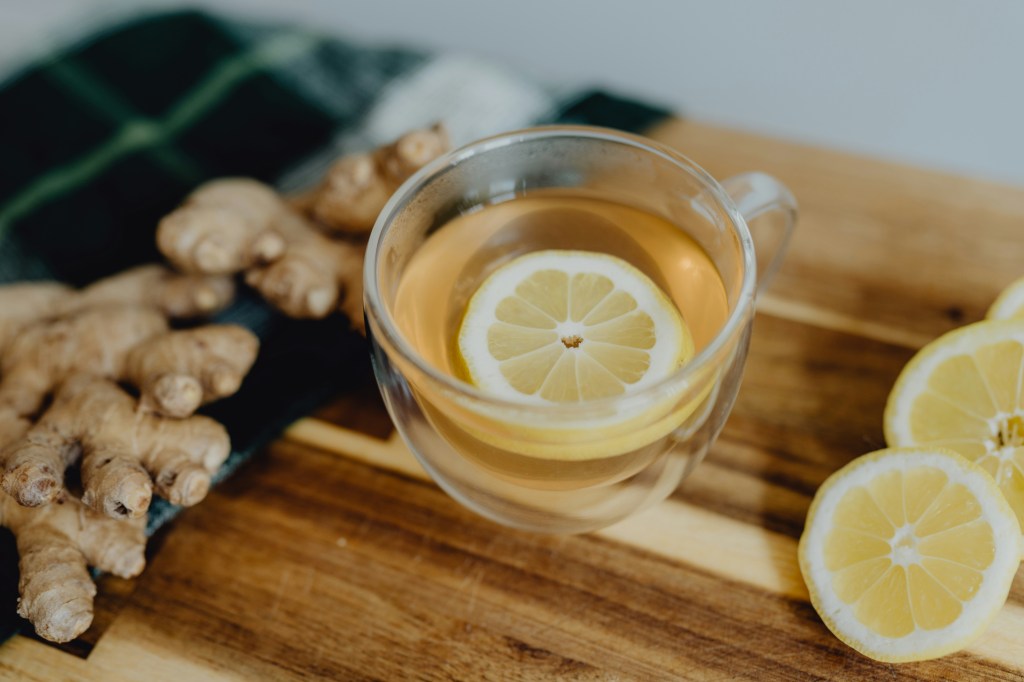
Ways to Incorporate Ginger into your diet: Ginger Tea – Brew fresh ginger slices in hot water, add a squeeze of lemon and honey for a soothing and warming tea.

(Photo credit: J-A-Uppendahl)

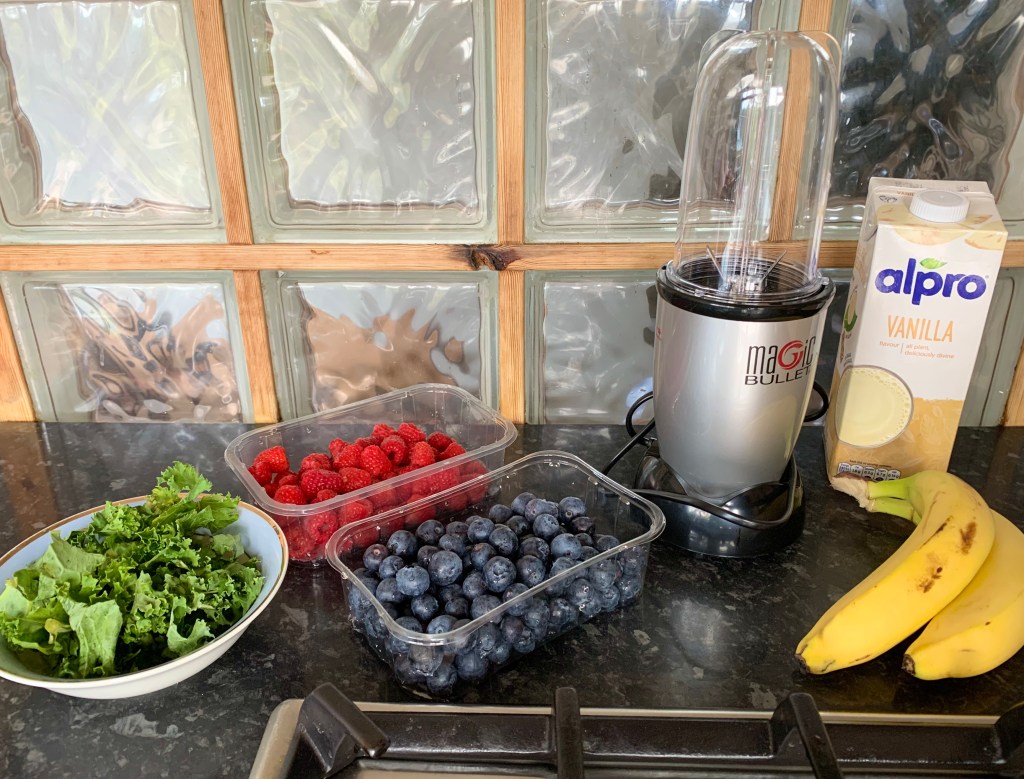
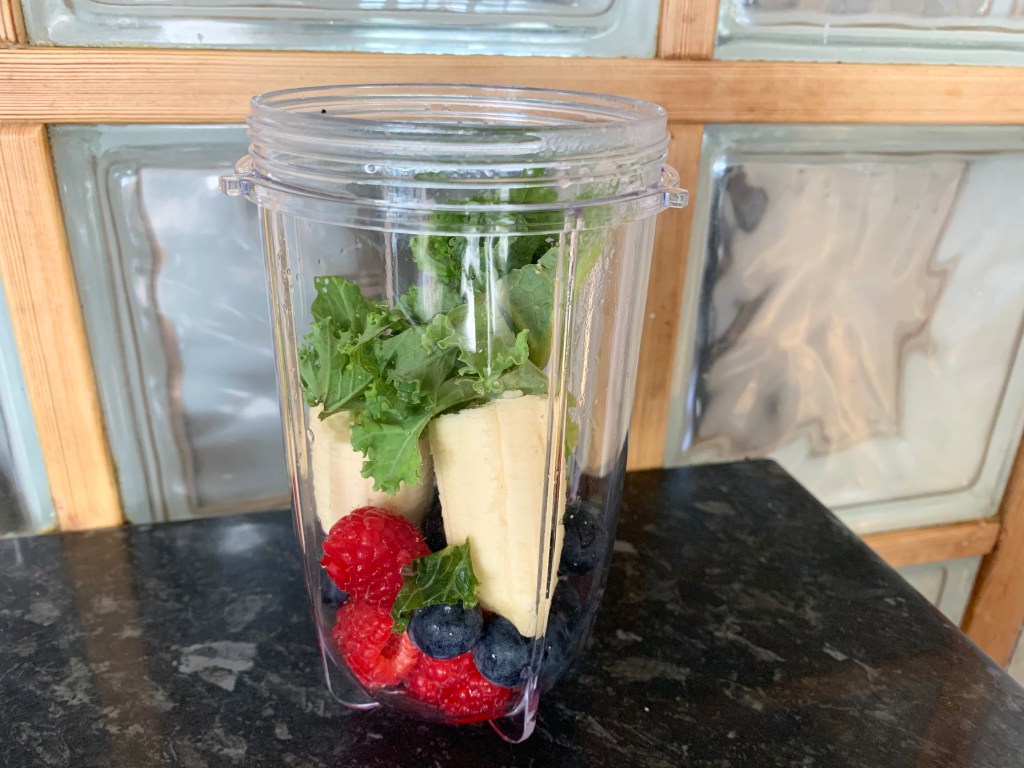
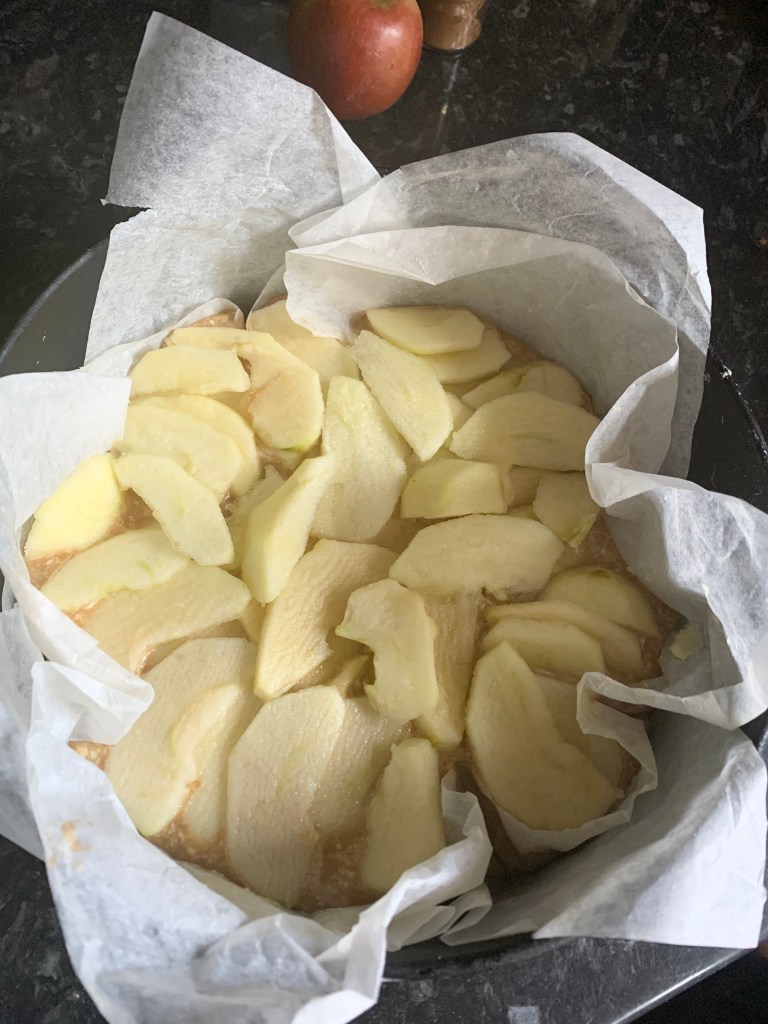
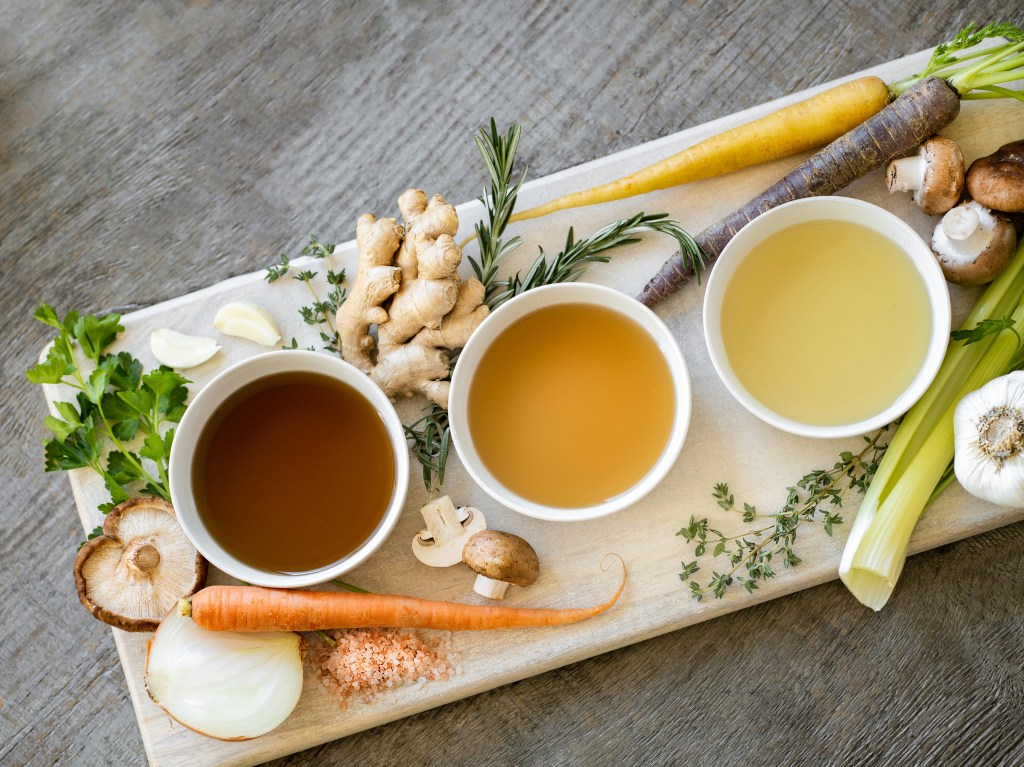
Add grated or sliced ginger to soups, stews, curries, and stir-fries for a flavorful twist and added health benefits.

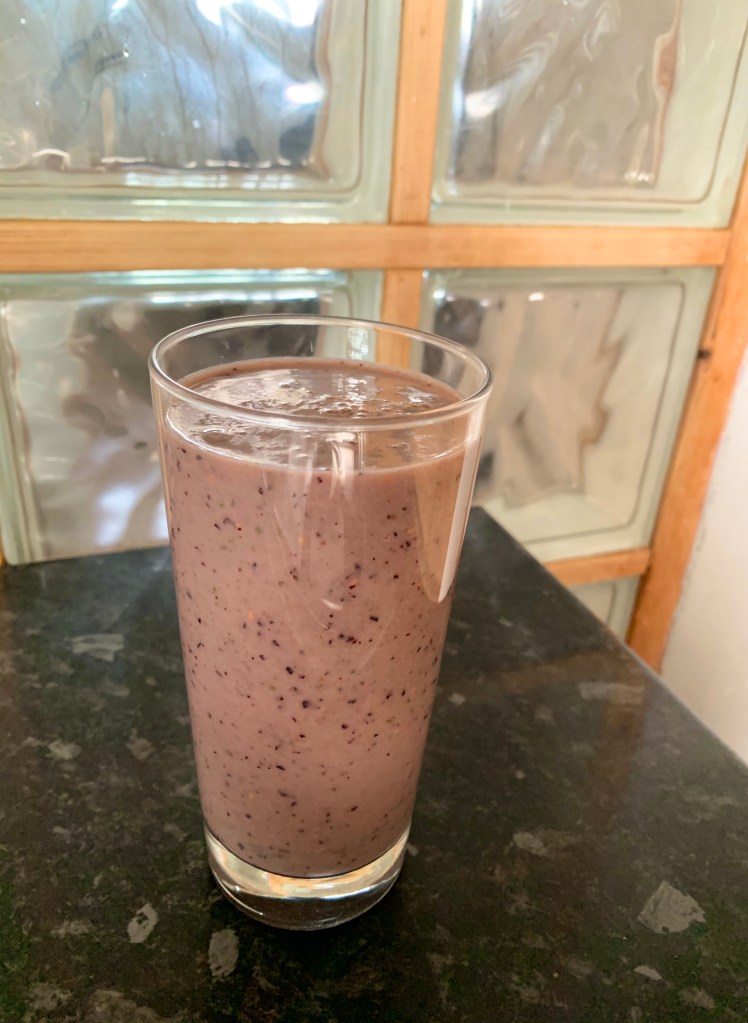
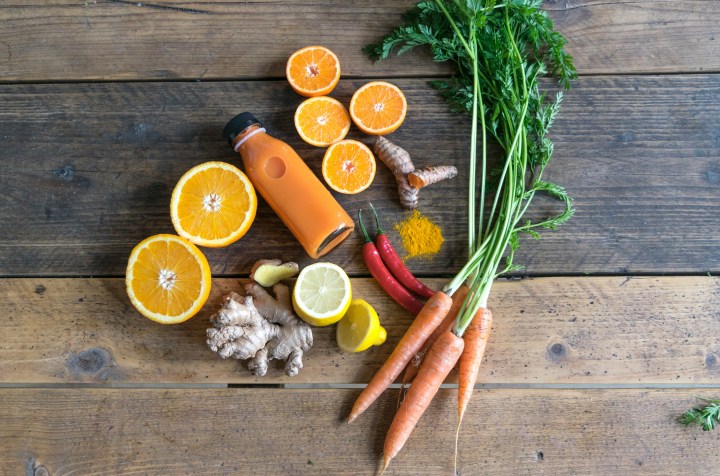
Create ginger-infused water or drinks by adding ginger slices to water, allowing it to infuse overnight for a refreshing and health-boosting beverage.

(Photo credit: Kelly-Sikkema)

Ginger Shots can kickstart your day. Blend ginger with drops of lemon, this will definitely give you the boost you need first thing!

Shelley & Michelle xx

A Matcha a day keeps the doctor away

A Matcha a day keeps the doctor away

Matcha is a type of green tea, made from the powdered leaves of the Camellia sinensis plant. Originally served at tea ceremonies in Japan, and has been consumed there for more than a thousand years! Matcha tea is a type of green tea, drank by Buddhist monks to promote concentration and energy. Although from the same plant as green tea, matcha is grown differently and as a result has a unique nutrient profile. Drinking one cup of Matcha equals drinking 10 cups of green tea. You can drink it hot or iced, and it has some great health benefits.

Focused Mind: Matcha gives you energy and also promotes focus and relaxation in your mind. Matcha green tea also sharpens your mind, and It is said that matcha powder gives you a Calm Alertness.

(Photo credit: Natasha-T)

Strengthens Immune System: Matcha helps give you a strong immune system, not just during winter but all year long. So, really one matcha a day does keep the doctor away! The antioxidants in matcha are also good for your oral health.

Burns Fat and Boosts Metabolism: Matcha green tea burns fat and boosts your metabolism. It also detoxes your body.

(Photo credit: Rigel-Dmp)

Great for your skin: It’s rich in antioxidants and nutrients and contains compounds that can help you with all kinds of skin problems. From dry or irritated skin to acne-prone skin, all skin types can benefit from the health benefits of matcha. It can even help with premature aging and psoriasis and of course give you a healthy glow!

How to prepare matcha tea: You need matcha powder and a small bamboo whisk. Boil water and let it sit for a bit, so it’s not too hot. Add 1 or 2 scoops of matcha powder (depending on how strong you like it). Whisk the tea until it’s frothy. You can add to your iced or hot latte, and it even tastes great in a smoothie. Enjoy!

(Photo credit: Matcha-Co)

Not only is matcha used for tasty beverages, those with a sweet tooth can also use matcha in their ingredients for cookies, cakes, breads, muffins and even ice cream.

(Photo credit: Edwin-Petrus)

Shelley & Michelle xx

Dining at Brat, London

Dining at Brat, London

If you are a food lover then you have to experience the delicacies Brat has to offer. Based in London’s Shoreditch, the vibe of the restaurant was so relaxed and there’s always something extra special when the chefs cook the meals in an open kitchen. It shows professionalism and excellence as well as allowing diners to admire the chefs expertise.

We started with a variety of different small plates, each and every one was excellent, and couldn’t tell you our favourite dish as they were all so tasty.

The small plate portions were just right and consisted of Maldon Oyster with Cucumber & Seaweed, Grilled Bread, Grilled Padron Peppers, Spider Crab Toast, Scarlet Prawns, Green Salad followed by the Beef Rib and Smoked Potatoes. We were so stuffed and actually asked for a doggy bag! The food was too good to just throw away and would have regretted that in the morning. We shared dessert which was the Caramel Cream and was delicious.

Instead of us typing away, we’ll let the pictures speak for themselves. Enjoy.

Grilled Bread
Grilled Padron Peppers
Spider Crab Toast
Scarlet Prawns
Green Salad
Beef Rib
Smoked Potatoes
Caramel Cream

Shelley & Michelle xx

OUR QUICK AND EASY CHOCOLATE CHIP CAKE RECIPE

OUR QUICK AND EASY CHOCOLATE CHIP CAKE RECIPE

As the weather begins to brightening up, and as cake lovers we thought what better way to enjoy the new season than baking and eating cake! Packed with gooey chocolate chips throughout, we chose to make our go to chocolate chip cake which is so easy to make and is perfect for any occasion. You could serve with a dash of cream or ice cream, as a sweet dessert, or simply lovely to enjoy with a cup of tea. This chocolate chip cake can also be made into chocolate chip muffins (see one of our previous posts).

Ingredients:

250g self-raising flour

2 tsp Baking powder

1/2 tsp Salt

1/2 cup of Milk

1 tsp vanila extract

200g Unsalted butter

200g Granulated sugar

3 eggs

100g chocolate chips

100g white chocolate chips

Method:

1: Pre-heat the oven to 200°F, then combine all of your dry ingredients which includes the salt and baking powder to the flour. Whisk through thoroughly so it has a smooth effect with no clumps.

2: Pour the vanilla extract into the milk. In another separate bowl add your butter and sugar, then whisk until your batter is light and fluffy. Next crack in your three eggs one at a time. The egg helps combine the mixture and also adds moisture.

3: Add a third of your dry ingredients into the butter and sugar mixture. Then add half of your milk and vanilla extract mixture and mix it in. You want to alternate the dry ingredients and the milk and vanilla mixture until it’s all eventually in, and mix with your hand mixer. Your batter should look smooth and creamy.

4: Now it’s time for the chocolate chips. Put a fare amount of both chocolate and white chocolate chips into your bowl. But leave a little bit of your chocolate chips to the side to add at the end. Begin to mix so your chocolate chips are thoroughly distributed into the mix. Next pour your batter into your greased baking tin. Always make sure you have greased your baking paper before adding your batter, as it prevents your cake to stick. After placing your mix evenly into the tin, sprinkle the last of your chocolate chips on to the top.

5. Lastly, place your mix into your pre-heated oven for 30 minutes, or until a tooth pick inserted into the cake comes out clean and not sticky.

Shelley & Michelle xx

GARLIC KING PRAWNS AND PASTA DISH

GARLIC KING PRAWNS AND PASTA DISH

There is nothing quite like a tasty, wholesome dish to tuck into after a busy day. To make it even more satisfying is when the meal takes no longer than thirty minutes to prepare. We had a bottle of white wine chilling in the fridge and decided to make a classic pasta dish with a very simple recipe, which includes Juicy king prawns, spaghetti, butter, salt, pepper, garlic, lemon, lime, onions, mushrooms and olive oil. The meal tasted so delicious we had to share with you all. Hope you enjoy it as much as we did!

1: Wash and drain the king prawns, add to a bowl. Cut a whole lemon in to two and squeeze over the prawns, then leave to stand.

2: Boil a pot of water and add a pinch of salt to the boiling water.

3: Pre heat a large pan, add 2 tablespoons of butter and a drizzle of olive oil.

4: Peel and finely chop the garlic, onions and mushrooms.

5: Add the pasta to the pot of boiling water. You may need to add another pinch of salt (if needed) and bring to the boil over a high heat.

6: The pasta should take around 5-6 minutes boil. (Keep your eye on this as you don’t want the pasta to get too soft).

7: Add your chopped garlic, onions and mushrooms to your hot pan and mix together for 2 minutes until your contents begins to soften.

8: Now, add the king prawns to the pan and sprinkle black pepper, mix and cook for 5-6 minutes until the prawns are cooked through.

9: When done, drain the pasta. Once the king prawns are cooked, add the pasta to a serving plate then add your prawn mix.

10: For the finishing touch, sprinkle a little more black pepper or squeeze half a lemon to brighten the flavours and enjoy.

Shelley&Michelle xx

EASY TO MAKE CHOCOLATE CHIP MUFFINS

Supermarkets are fully stocked with flour! That can only mean one thing.. more baking. We’ve been taking the more healthier route for the last few weeks by switching cakes for smoothies (see in our previous post) which we have thoroughly enjoyed, but have missed baking and obviously eating cake. So when we saw the shelves filled with flour, we had to get back to our new found love during lockdown. Our first thought was to have a go at baking chocolate chip muffins which is so quick and easy to make.

1: Pre-heat your oven to 250°F. You want the oven to be as hot as possible to set the edge of the muffins so it rises nicely.

2: Place a sieve into a mixing bowl and add two-three quarter cups of plain flour that is 330 grams. One teaspoon of salt and one tablespoon of baking powder. Then begin to sieve the contents into the bowl then whisk for a few seconds.

3: Add one and a quarter cup of whole milk to another bowl followed by half a cup or 113 grams of unsalted butter that has been melted. You can melt the butter in a microwave or an oven. Then add one cup or 200 grams of granulated sugar and whisk the contents.

4: Now It is time for the eggs, crack two large eggs into your mixture as well as one quarter cup of sour cream or plain yogurt. It helps keep the muffins extra moist. We hate the word moist but it really does lol. Add a tablespoon of vanilla extract. Vanilla extract just gives that extra flavour you need. Begin to mix.

5: Pour the wet mixture into the dry mixture and then whisk until it’s almost combined. It’s now time for the best part of the whole ingredients.. the chocolate chips. You need one and a half cups of chocolate chips or more, It’s totally up to you. Then add to your mixture. Save a handful of your chocolate chips to the side to sprinkle on top later. Start to mix with a spatula not a whisk.

6: Scoop and fill your mixture into the paper muffin cups. Lastly sprinkle the chocolate chips you saved to the top of your muffin mixture.

7: We made 12 muffins altogether and had mixture left over and decided to make a small cake. We greased a baking tin and applied baking paper, then added the rest of the mixture to the tin. We placed the muffins and cake into the preheated oven at the same time.

8: Your muffins should be in the oven for 5 minutes at 250°F then reduce your oven to 200°F – The muffins should be in there for 25 minutes .

This is yet another quick and easy to make cake/muffin that tastes amazing! We enjoyed the cake for dessert which went down nicely with cream. Our chocolate chip muffins took no longer than twenty minutes to prep and thirty minutes to bake.

You can follow us on Twitter here

Shelley & Michelle xx

BERRY SMOOTHIE

Smoothies contain so many health benefits and can be enjoyed anytime of the day. A nutritious healthy smoothie at breakfast gives a good start to your day and energy you need to keep going until lunch time. Not only are smoothies tasty, we have so much fun making them as you can be so creative with it. One day you may fancy a green smoothie, a berry smoothie or even a banana, honey and milk smoothie. As Smoothies are packed with goodness and lots of flavour it also keeps you full which stops food cravings and prevent from snacking.

Smoothies after a workout is the best! Have you noticed you get hungry more after exercise? A smoothie is a healthy alternative to have after a workout. We like to add a scoop of protein powder which helps to build the muscle and repair tissue. This also thickens the smoothie and tastes more like a milkshake.

For breakfast today we made a kale, banana and berry smoothie which took no more than five minutes to make.

For the ingredients you only need a handful of fresh blueberries, raspberries and kale. One banana, half a cup of plant-based vanilla soya milk, a few ice cubes and a dash of water. If you have a sweet tooth you can add a teaspoon of honey.

Blend for around twenty seconds and there you have it – our easy to make berry smoothie.

Berry smoothie health benefits:

Raspberries are packed with vitamins, minerals and antioxidants. The fruit is low in calories but high in fibre.

Blueberries is great for a healthy digestion and feeling full. Blueberries contain iron, calcium, zinc and vitamin K.

Bananas give you energy and are a sources of vitamin C. Potassium in bananas is good for the heart and blood pressure.

Kale is one of the most popular vegetables, loaded with powerful antioxidants and is one of the best sources of vitamin K.

You can follow us on Twitter here

Shelley & Michelle xx

BAKING IN LOCKDOWN PART TWO

Hi guys, we hope you are all doing ok. Is it just us or are you all finding it difficult to get hold of self-raising flour? As we’re in lockdown people are keeping busy baking and cooking etc. But wow! When shopping each week there is literally dust from the flour left on the shelves… with no flour. Anyway, we had a little flour left in the cupboards and thought we’ll make cupcakes but halfway through mixing we realised we had far too much mix and decided to have a go at making a vanilla sponge cake.

Making a sponge cake is harder than it looks! You have to make sure you get the correct consistency and if you mix for too long this will create air bubbles in the mixture that can cause the cake to collapse.

Step1: First thing’s first. Always preheat the oven before you start baking so your oven’s piping hot before placing your cake mixture in.

Step 2: Start by adding four ounces of butter to your bowl. Followed by four ounces of granulated sugar and begin to whisk for three to five minutes until the mixture is light and fluffy. Then add four ounces of self-raising flour and a teaspoon of baking powder.

Step 3: Crack two eggs, then beat the eggs for about a minute and then put into the mixture. Next add the milk and pour bit by bit as you are whisking, we used a cup of milk.

Step 4: For flavour we added two teaspoons of vanilla essence and continued mixing for a few more seconds.

Step 5: Place your baking paper in your baking tin. Then grease with butter, this is always a good way to prevent your cake from sticking to the tin.

Step 6: Pour your mixture into the baking tin and place to the middle of your preheated oven for around thirty minutes. We set the temperature to 180 degrees.

Voila! Shelley and Michelle’s Vanilla Sponge Cake, which took twenty minutes to prep, thirty minutes to bake and in total it only took 50 minutes!

You can follow us on Twitter here

Shelley & Michelle xx

BAKING IN LOCKDOWN

Hi everyone! We hope that you are all keeping safe and well. Since having all of this free time we are both actually trying to make the most it. As you know from our last post we have been keeping our mind and body healthy by exercising and going out for walks. We also wanted to share with you our new found love for baking.

In the past few weeks we have made more trips to the kitchen and fridge than ever before! We’ve decided to put our baking skills to the test and have to say we are pretty delighted with the results. We had so many apples in the fruit bowl a couple days ago and decided to put them to good use and make an apple tart.

An apple tart is so easy to make and the ingredients used is so simple. You only need five apples, 120 grams of sugar, two eggs, 175ml of milk, 180 grams flour, two teaspoons of baking powder, cinnamon and jam (we used strawberry jam). Use flour and butter to grease your baking tin so the mix doesn’t stick to it.

Step 1: Start by peeling and removing the core from the apples. Cut the apple in half and then into quarters. Leave the apples to one side in a bowl of water and squeeze a lemon into it so that the apples stay fresh and won’t turn an off colour.

Step 2: Add your eggs, milk, sugar, baking powder and flour to a mixing bowl. Mix for about two to three minutes until your mix is well blended. Then pour into your greased baking tin.

Step 3: Cut the remaining apples into thin slices. Lay the apple slices in overlapping circles over the mix – Ours didn’t look quite like a circle, but we tried!

Step 4: Add three tablespoons of jam to a small bowl and place in the microwave for a few seconds, then glaze the jam over the apples. Sprinkle cinnamon on top of the tart and add to a preheated oven at 180 degrees for about 45 minutes.

And there you have it, our very first attempt at making an apple tart and it tasted so good.

Happy baking!

You can follow us on Twitter here

Shelley & Michelle xx